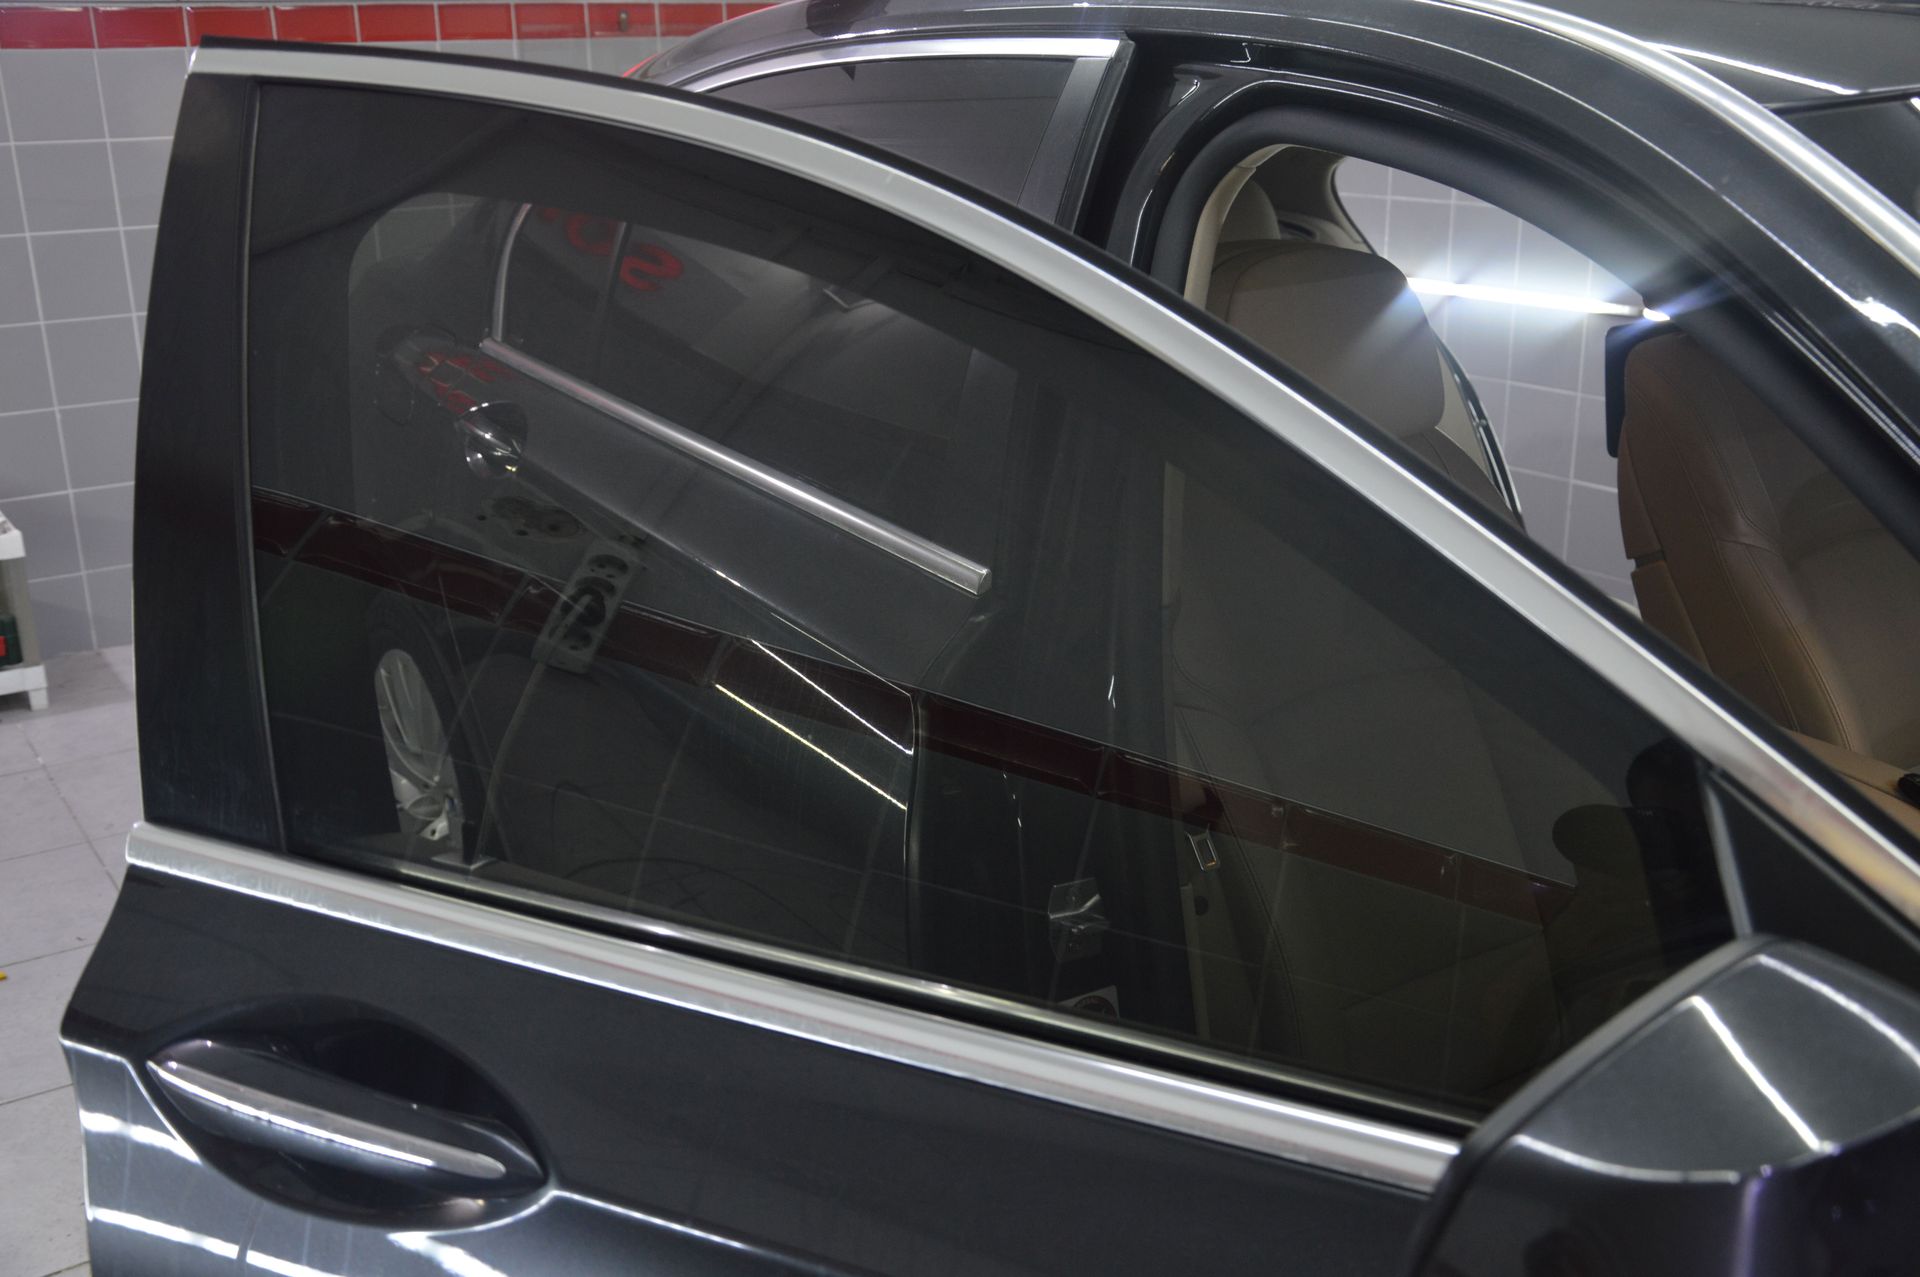
Can Car Window Tinting Be Removed? Your Complete Guide to Removal
BOOK TODAY CALL (440) 749-9164If you've ever wondered why some cars look so sleek while others seem to be stuck in the past, window tinting might be the secret ingredient you're missing. It's not just about style—it serves practical purposes too, like keeping your car cool and protecting you from harmful UV rays. But what happens if that tint starts to bubble or fade? Can it be switched out for something better? The good news is that, yes, car window tinting can be removed. Whether you're hoping to upgrade to a higher-quality film or simply want to restore your windows to their former glory, this guide will take you through the why and how of removing window tint safely and effectively.
Car window tinting can be removed, whether due to low-quality films or a desire to upgrade to superior options. The removal process involves heating the film to loosen the adhesive, carefully peeling it away with a razor blade, and cleaning any remaining residue from the glass for a pristine finish. For best results and to avoid damage, consider hiring a professional service like Factory Auto Tint.
Methods for Removing Window Tint
When it comes to removing window tint, there are two popular methods that have proven effective, each with its own advantages depending on your needs and resources.
Heat and Peel Method
The Heat and Peel method is often favored for its simplicity and efficiency. Using everyday items like a hairdryer or heat gun can make the process relatively straightforward.
First, apply heat to the tinted window—hold your hairdryer approximately two inches from the surface and move it in circular motions. This ensures even heating across the tint, which softens the adhesive underneath.
Once the adhesive warms up, grab a razor blade. With great care, start at one corner of the tint film, gently lifting it away from the glass. As you peel back the film, maintain consistent pressure—this helps keep the film intact and prevents tearing.
Ammonia and Trash Bag Method
For those who prefer a more chemical approach, the Ammonia and Trash Bag method yields excellent results but should be undertaken outdoors due to potentially harmful fumes.
Start by spraying soapy water generously over the tinted surface; this lubricates the area for easier removal. Then cover it entirely with a trash bag—make sure it's sealed tightly!
Next, spray ammonia into the interior of the window and place another trash bag on top. The sun serves as your ally here; allowing this setup to bask in sunlight for about an hour will create heat that exacerbates adhesive softening. After an hour, peel away the trash bags carefully.
With your window prepped, use your razor blade to lift and remove the tint film. Much like before, careful peeling will lead to cleaner results with less residual adhesive left behind.
Essential Tools and Materials
The tools and materials you choose can make or break your window tint removal project. Starting with the heat gun or hairdryer, this tool is crucial as it provides the necessary warmth to soften the adhesive that holds the tint in place. A properly softened adhesive can be your best friend, allowing for an easier peeling process. If you decide to go with a hairdryer, just be sure to keep it moving to avoid overheating any single area of your window.
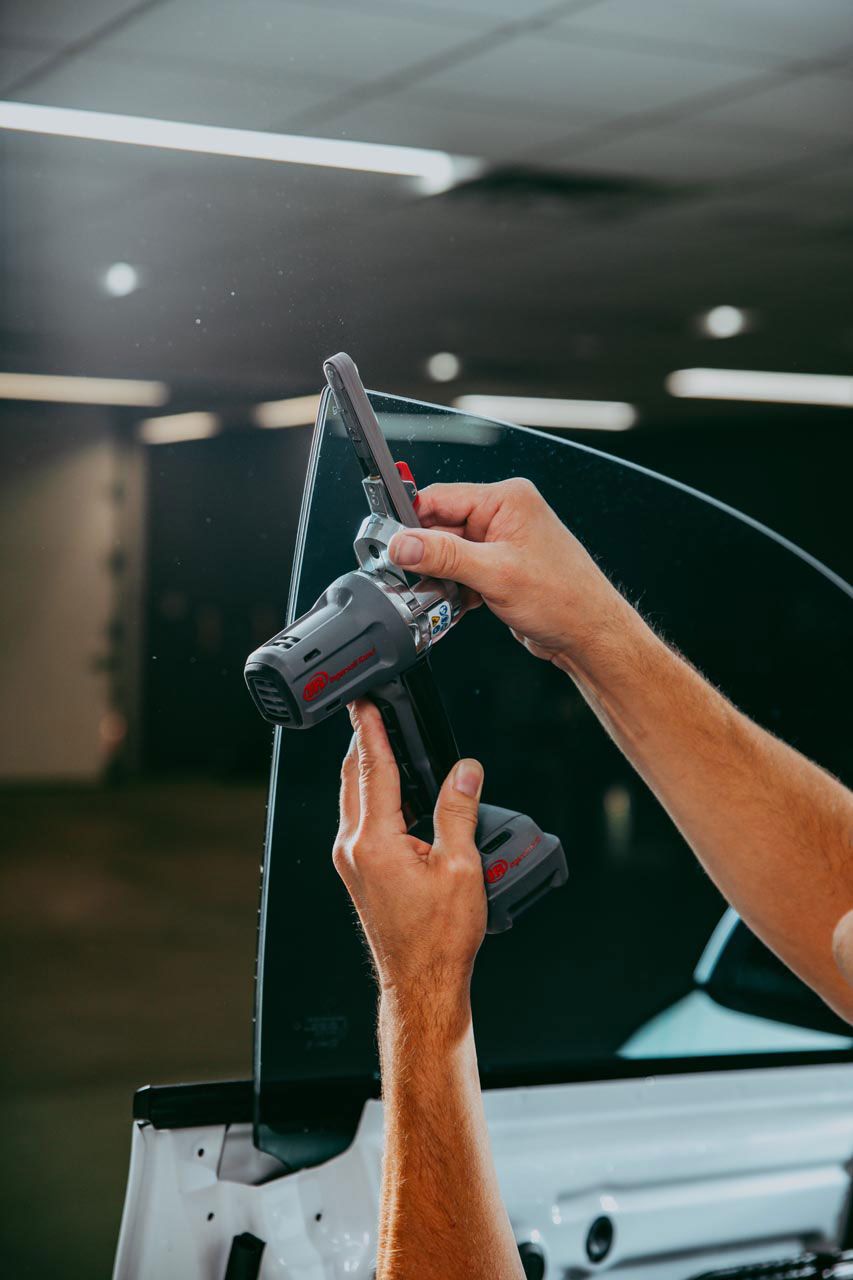
Next on the list are razor blades or scrapers. These handy little gadgets are great for initiating the peeling of the window film. Using a fresh blade is advisable for maximum effectiveness, as a dull blade can scratch your windows, which we definitely want to avoid! When wielding these blades, work carefully and maintain a steady hand, applying only light pressure while angling the blade away from the glass.
Now let’s talk about ammonia. This versatile cleaning agent is often mixed with trash bags for a powerful approach to breaking down sticky adhesive remnants. The idea here is that the ammonia vapor trapped inside the bag effectively loosens any leftover adhesive, making your task much more manageable.
To apply these mixtures efficiently, you’ll need a spray bottle. Using this bottle allows you to control how much liquid goes onto the surface without over-saturating it—something that could lead to unwanted drips and messes. Whether you're using soapy water or ammonia, keeping your solution finely misted helps maintain better visibility during the removal process.
Meanwhile, don’t forget microfiber cloths. These soft companions will come in handy when it’s time to wipe up any residue left behind after you’ve peeled off the tint. Microfiber cloths are great for cleaning without scratching surfaces, leaving them spotless and ready for their next look.
Step-by-Step Removal Guide
Let's explore the meticulous process of removing car window tint. Just like peeling off a bandage, it’s best done with care, ensuring the glass remains intact and the process goes smoothly. You’ll want to start with proper preparation to avoid any mess or damage.
Step I - Preparation
Begin by covering your car seats and floor with old towels or protective covers. This prevents stains from ammonia or adhesive remnants during your work. Think of this step as setting up your workspace; the more organized you are, the easier the process will be. Also, ensure you have all your tools at hand: a heat gun or hairdryer, a razor blade, a spray bottle, a cleaning solution, and safety gear, including gloves and goggles for protection.
Step II - Loosen the Tint
Next, turn your attention to the heating element. Use the heat gun or hairdryer to warm the window from the outside. Apply steady heat for about 30 seconds to a minute until you notice that the adhesive begins to soften. It’s essential not to overheat any one spot; keep moving the heat source in circular motions to avoid damaging the glass.
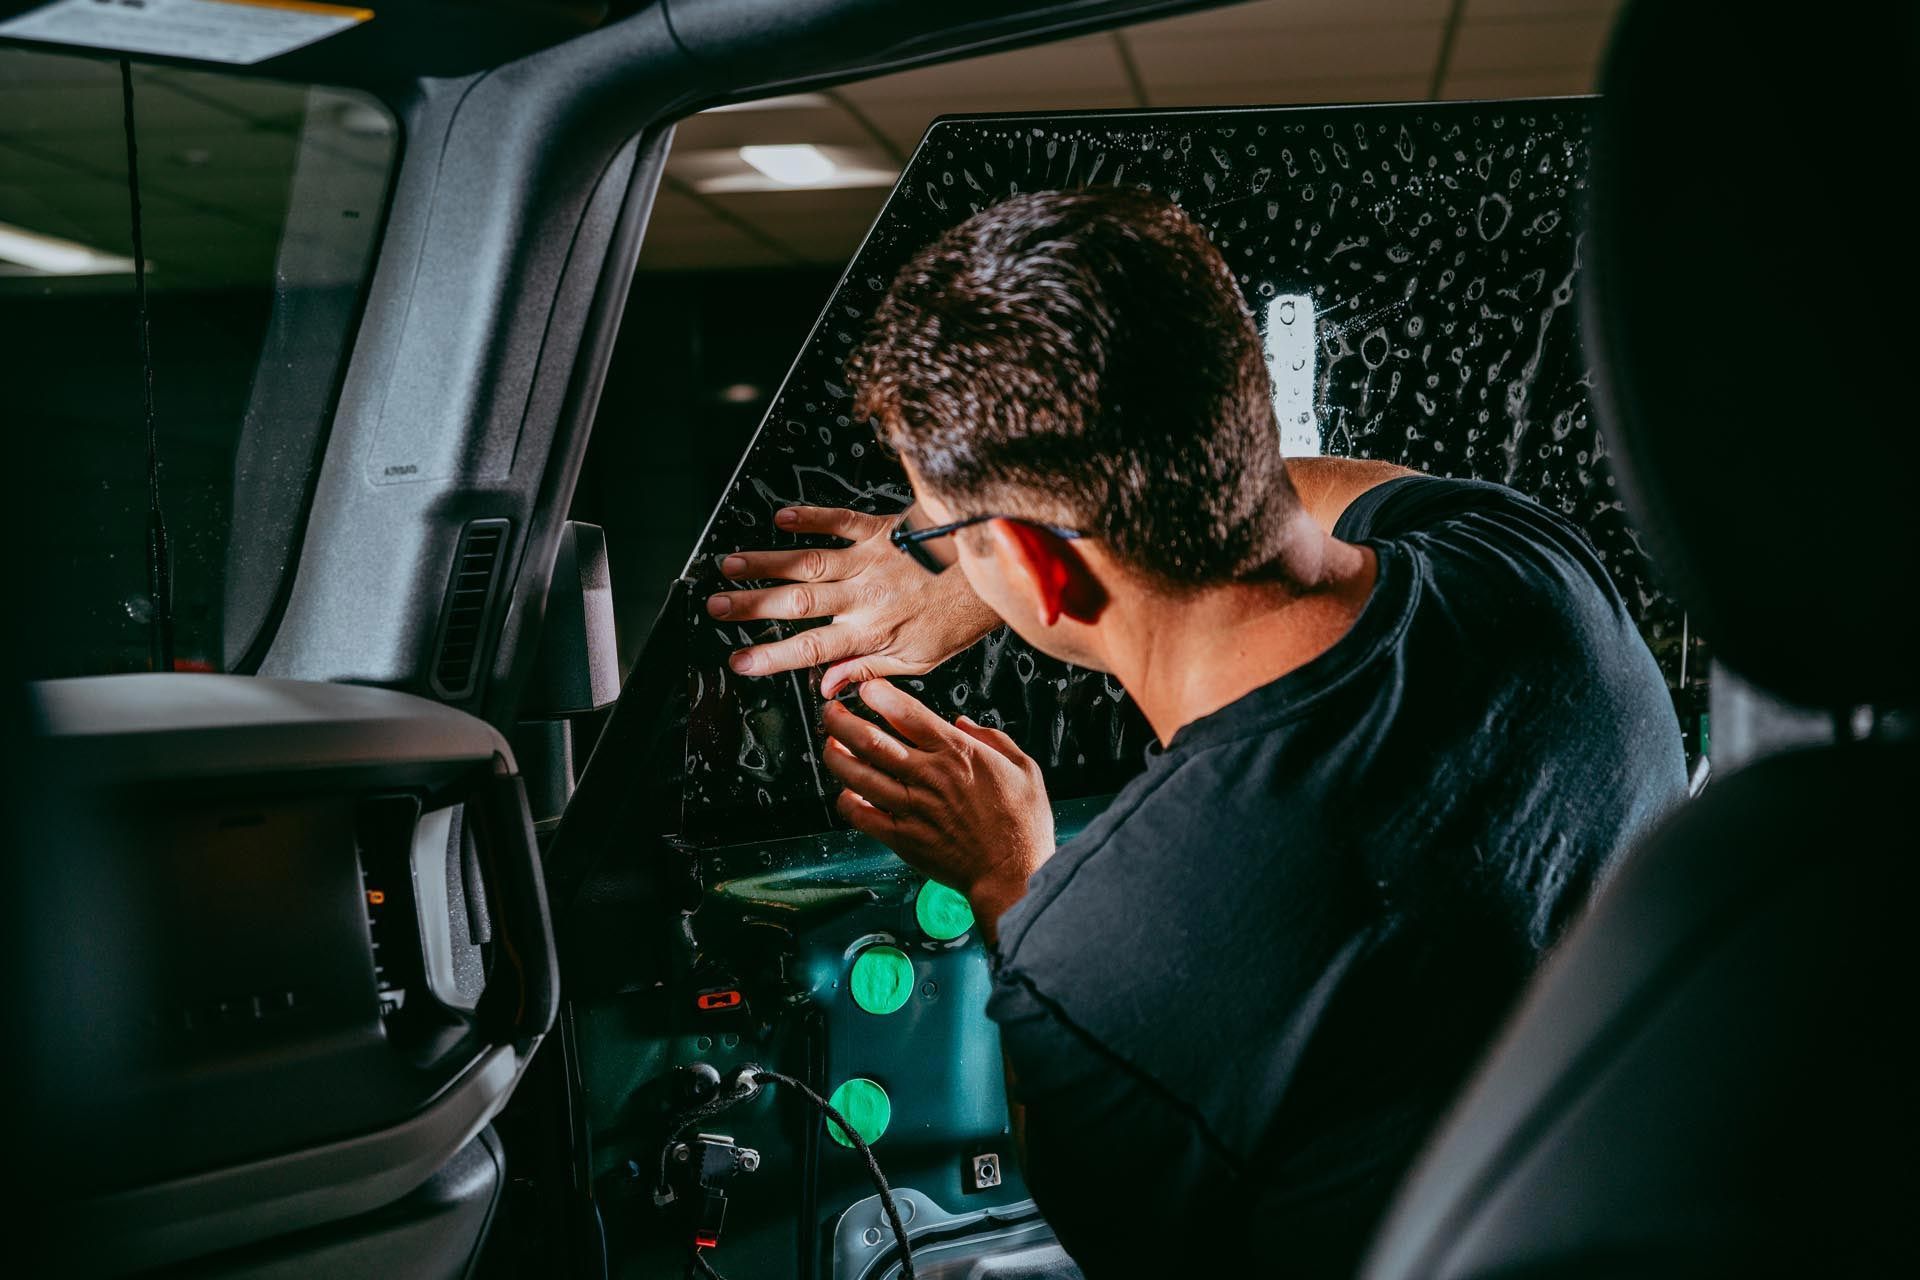
Step III - Start Peeling
With the tint warmed up, it’s time to get your hands dirty. Carefully slide a razor blade beneath the edge of the tint, lifting it gently. Once you have a secure hold, begin peeling back slowly at an angle. If you feel resistance, don’t force it; simply reapply heat and then continue peeling.
Step IV - Remove Adhesive Residue
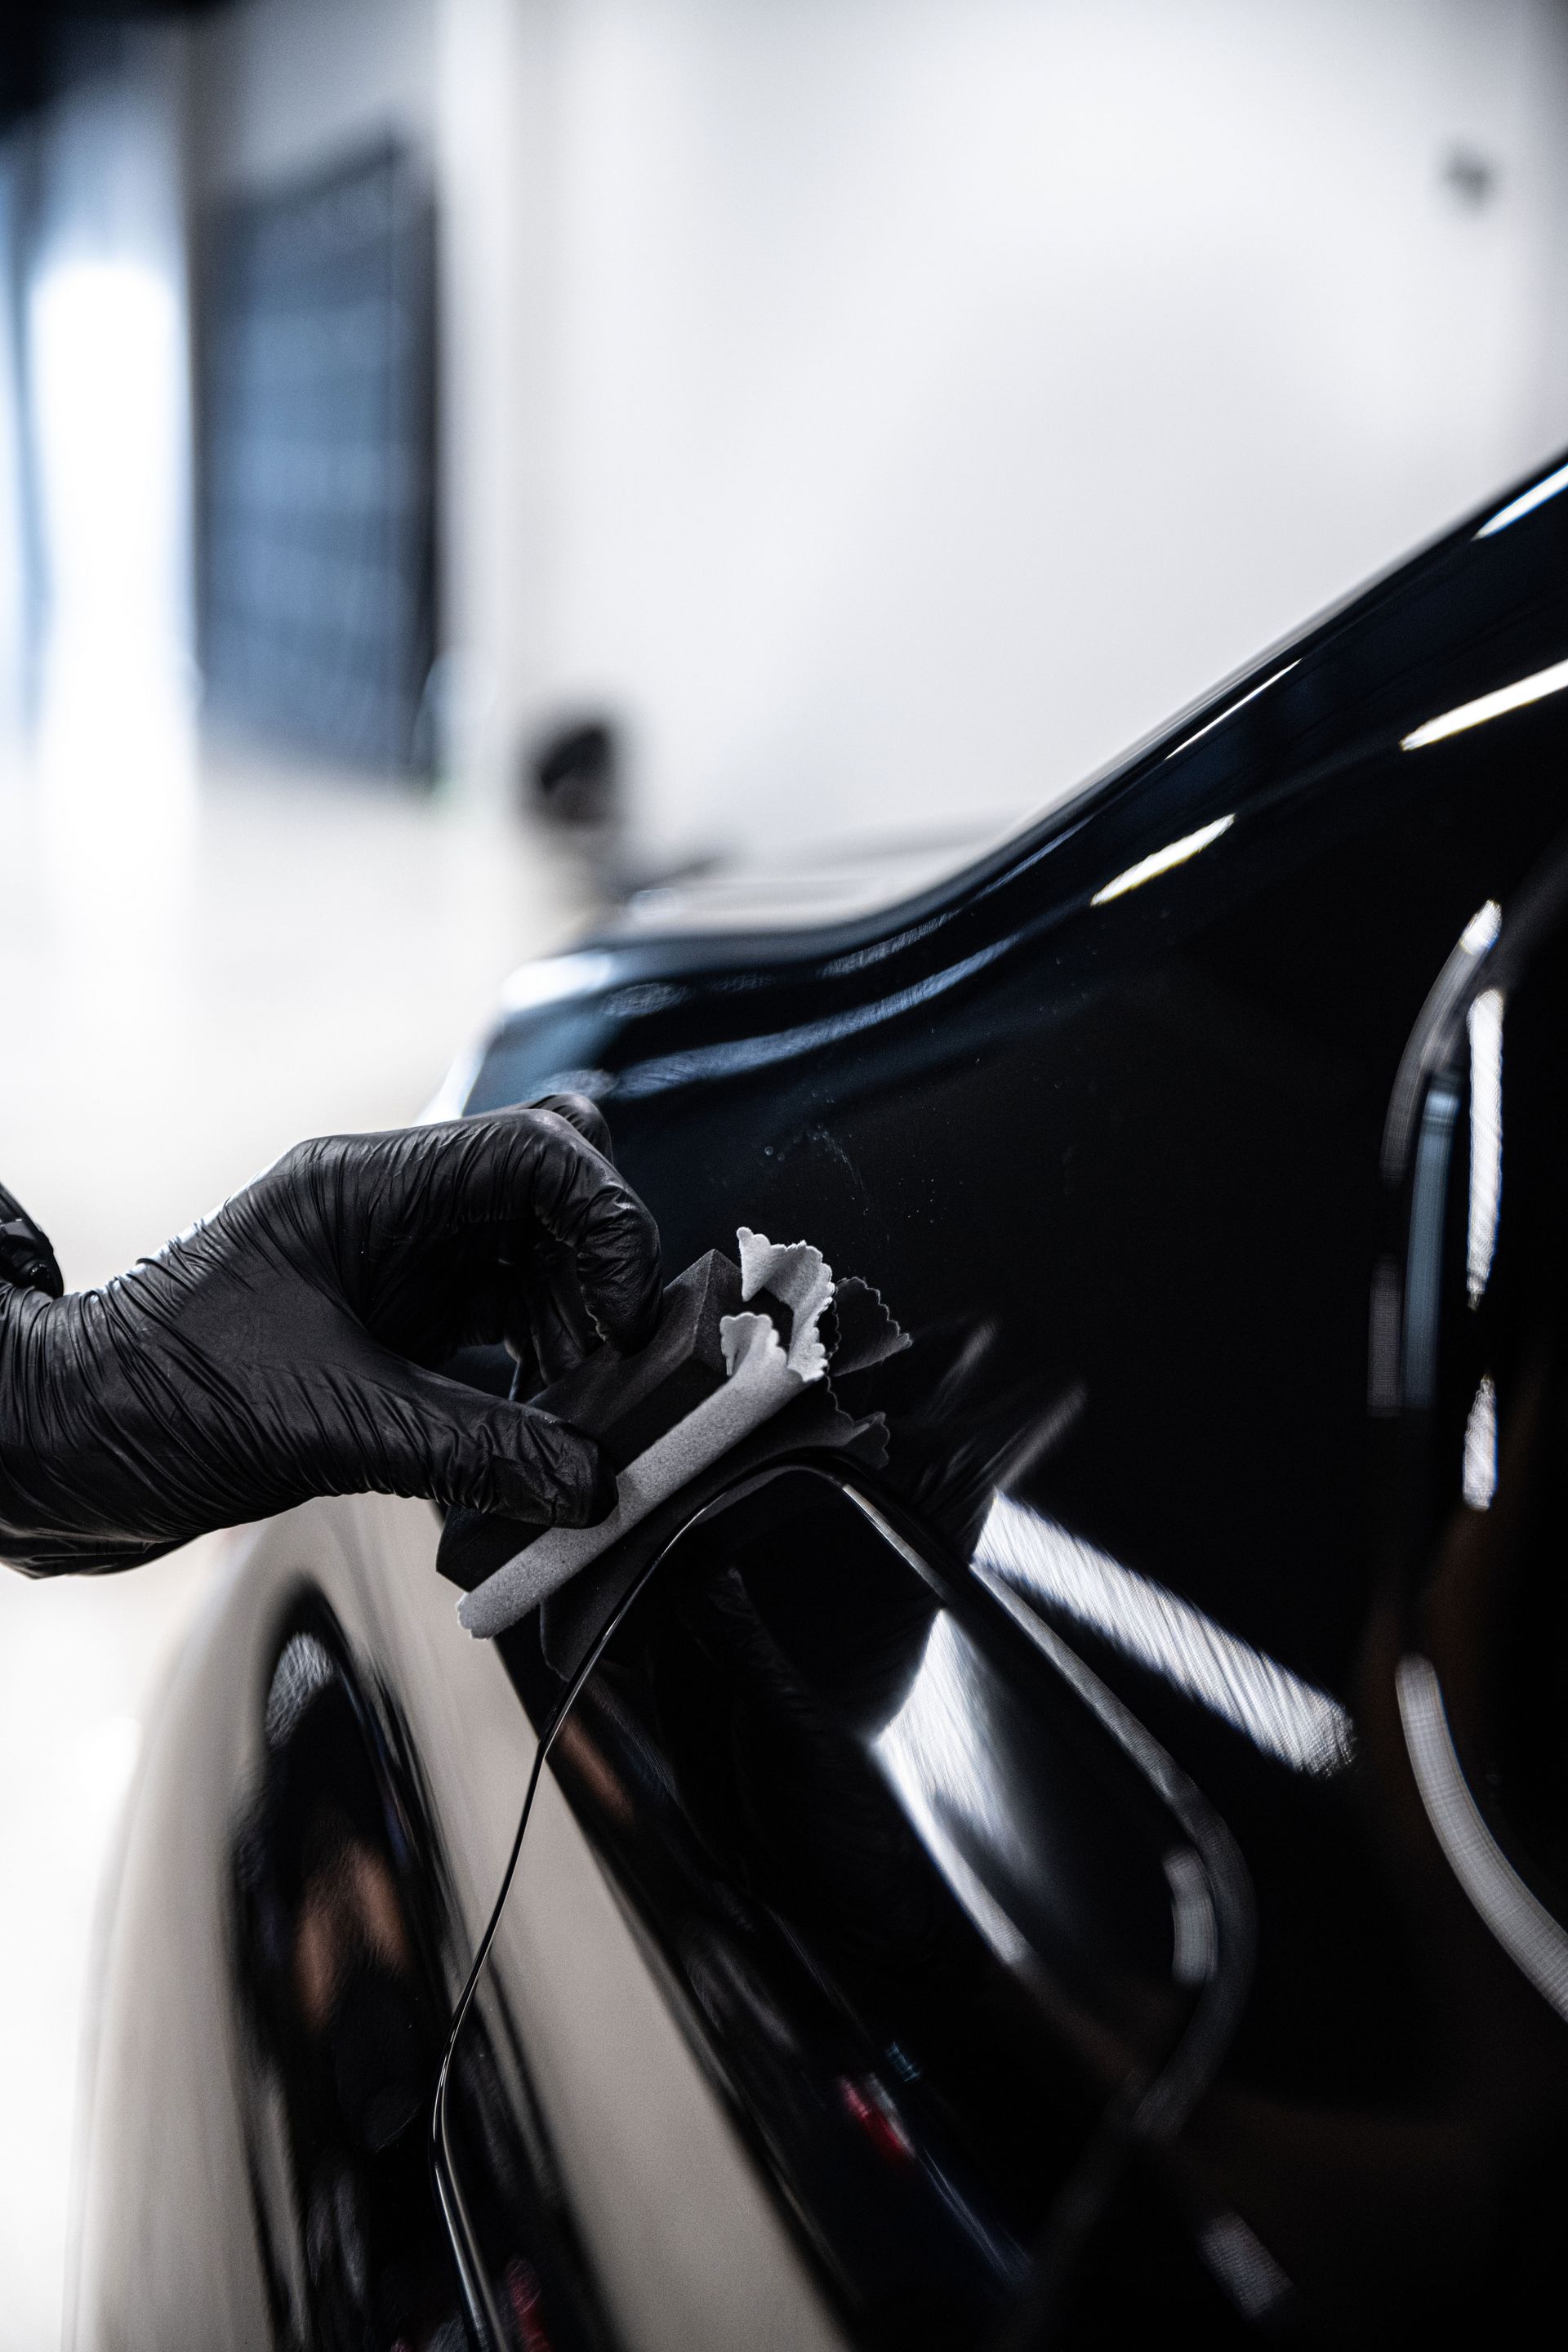
After successfully removing the tint, you'll likely find yourself facing some sticky adhesive residue left on the glass. Don’t worry; that’s perfectly normal. Spray it generously with soapy water or ammonia solution to break down that stubborn glue. Using a cloth or your razor blade, gently scrub away any remnants.
Step V - Final Clean
The final step involves bringing back that crystal-clear finish to your windows. Wipe down the area with a microfiber cloth, ensuring you eliminate streaks and smudges left over from the previous steps. This small detail enhances clarity and helps preserve visibility, exactly what you're aiming for after going through all that effort!
Risks and Challenges
One significant risk during the removal process is the potential for damage to your car's windows. If you're using a razor blade, applying too much pressure can easily scratch the surface of the glass. Imagine taking time to carefully remove the tint only to find unsightly scratches left behind!
Likewise, if you're being too aggressive with heat—perhaps using a heat gun or even a hairdryer—you run the risk of causing cracks in the glass or warping any interior materials near the windows.
Health Risks
It’s important to acknowledge that safety goes beyond just protecting your vehicle. When removing window tint, it’s common to encounter substances that contain ammonia, which can release harmful fumes. Inhaling these fumes, even in small doses, can be detrimental to your health. Therefore, ensuring that you're working in a well-ventilated area is crucial. If ventilation seems insufficient, don’t hesitate to wear a mask for added protection—it’s better to be safe than sorry.
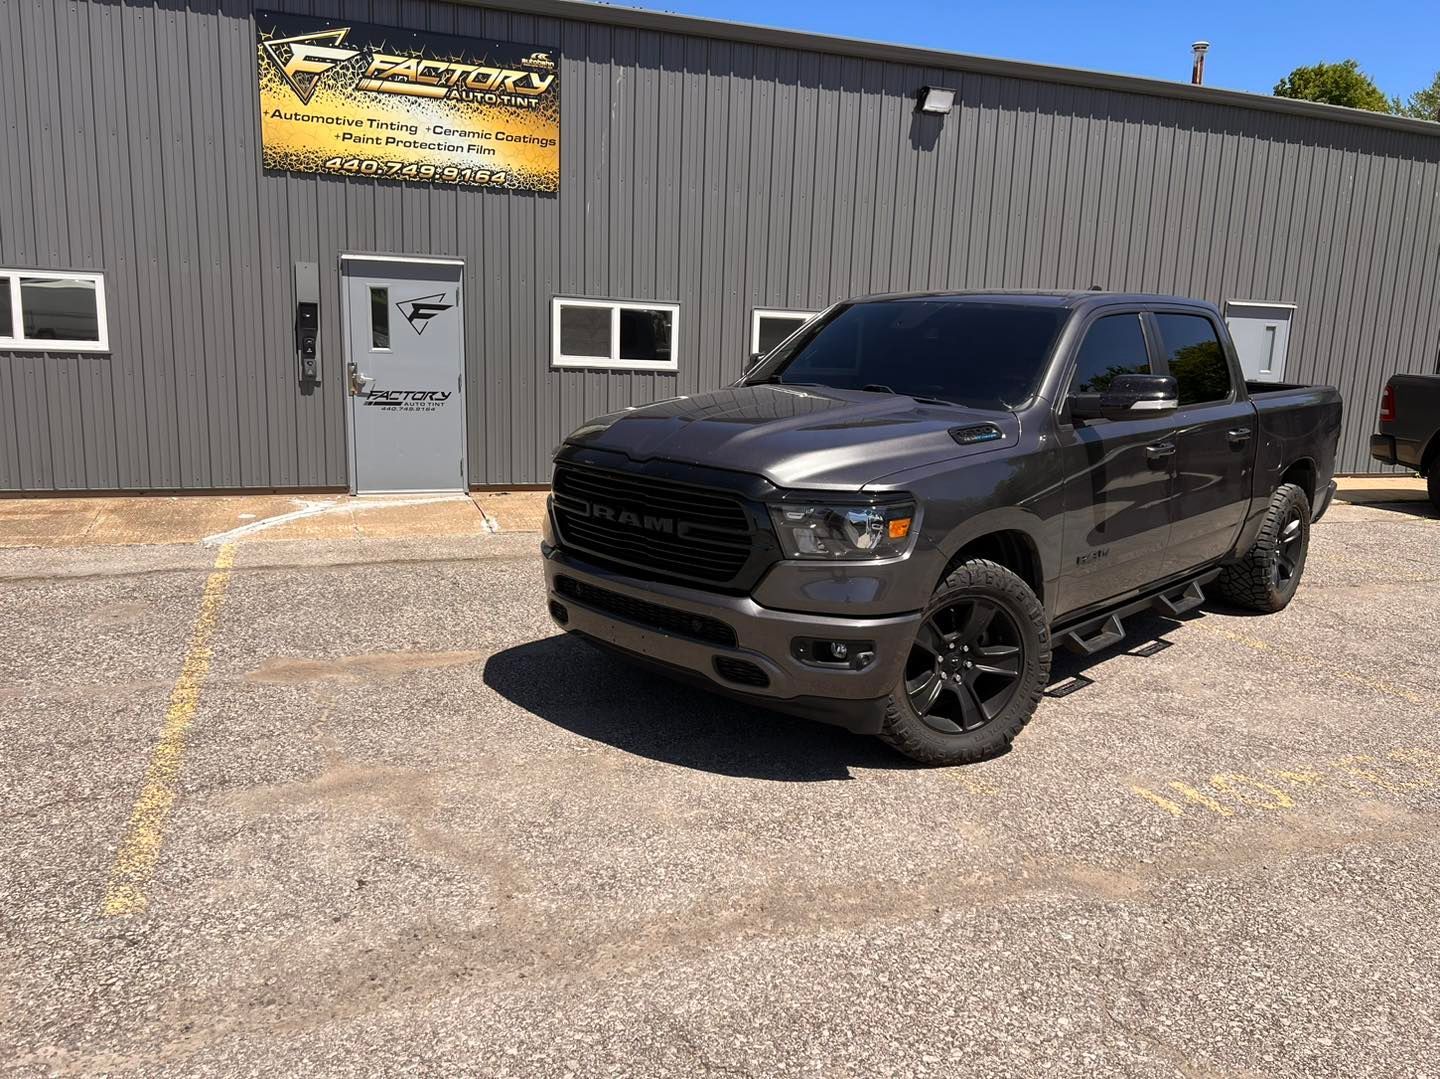
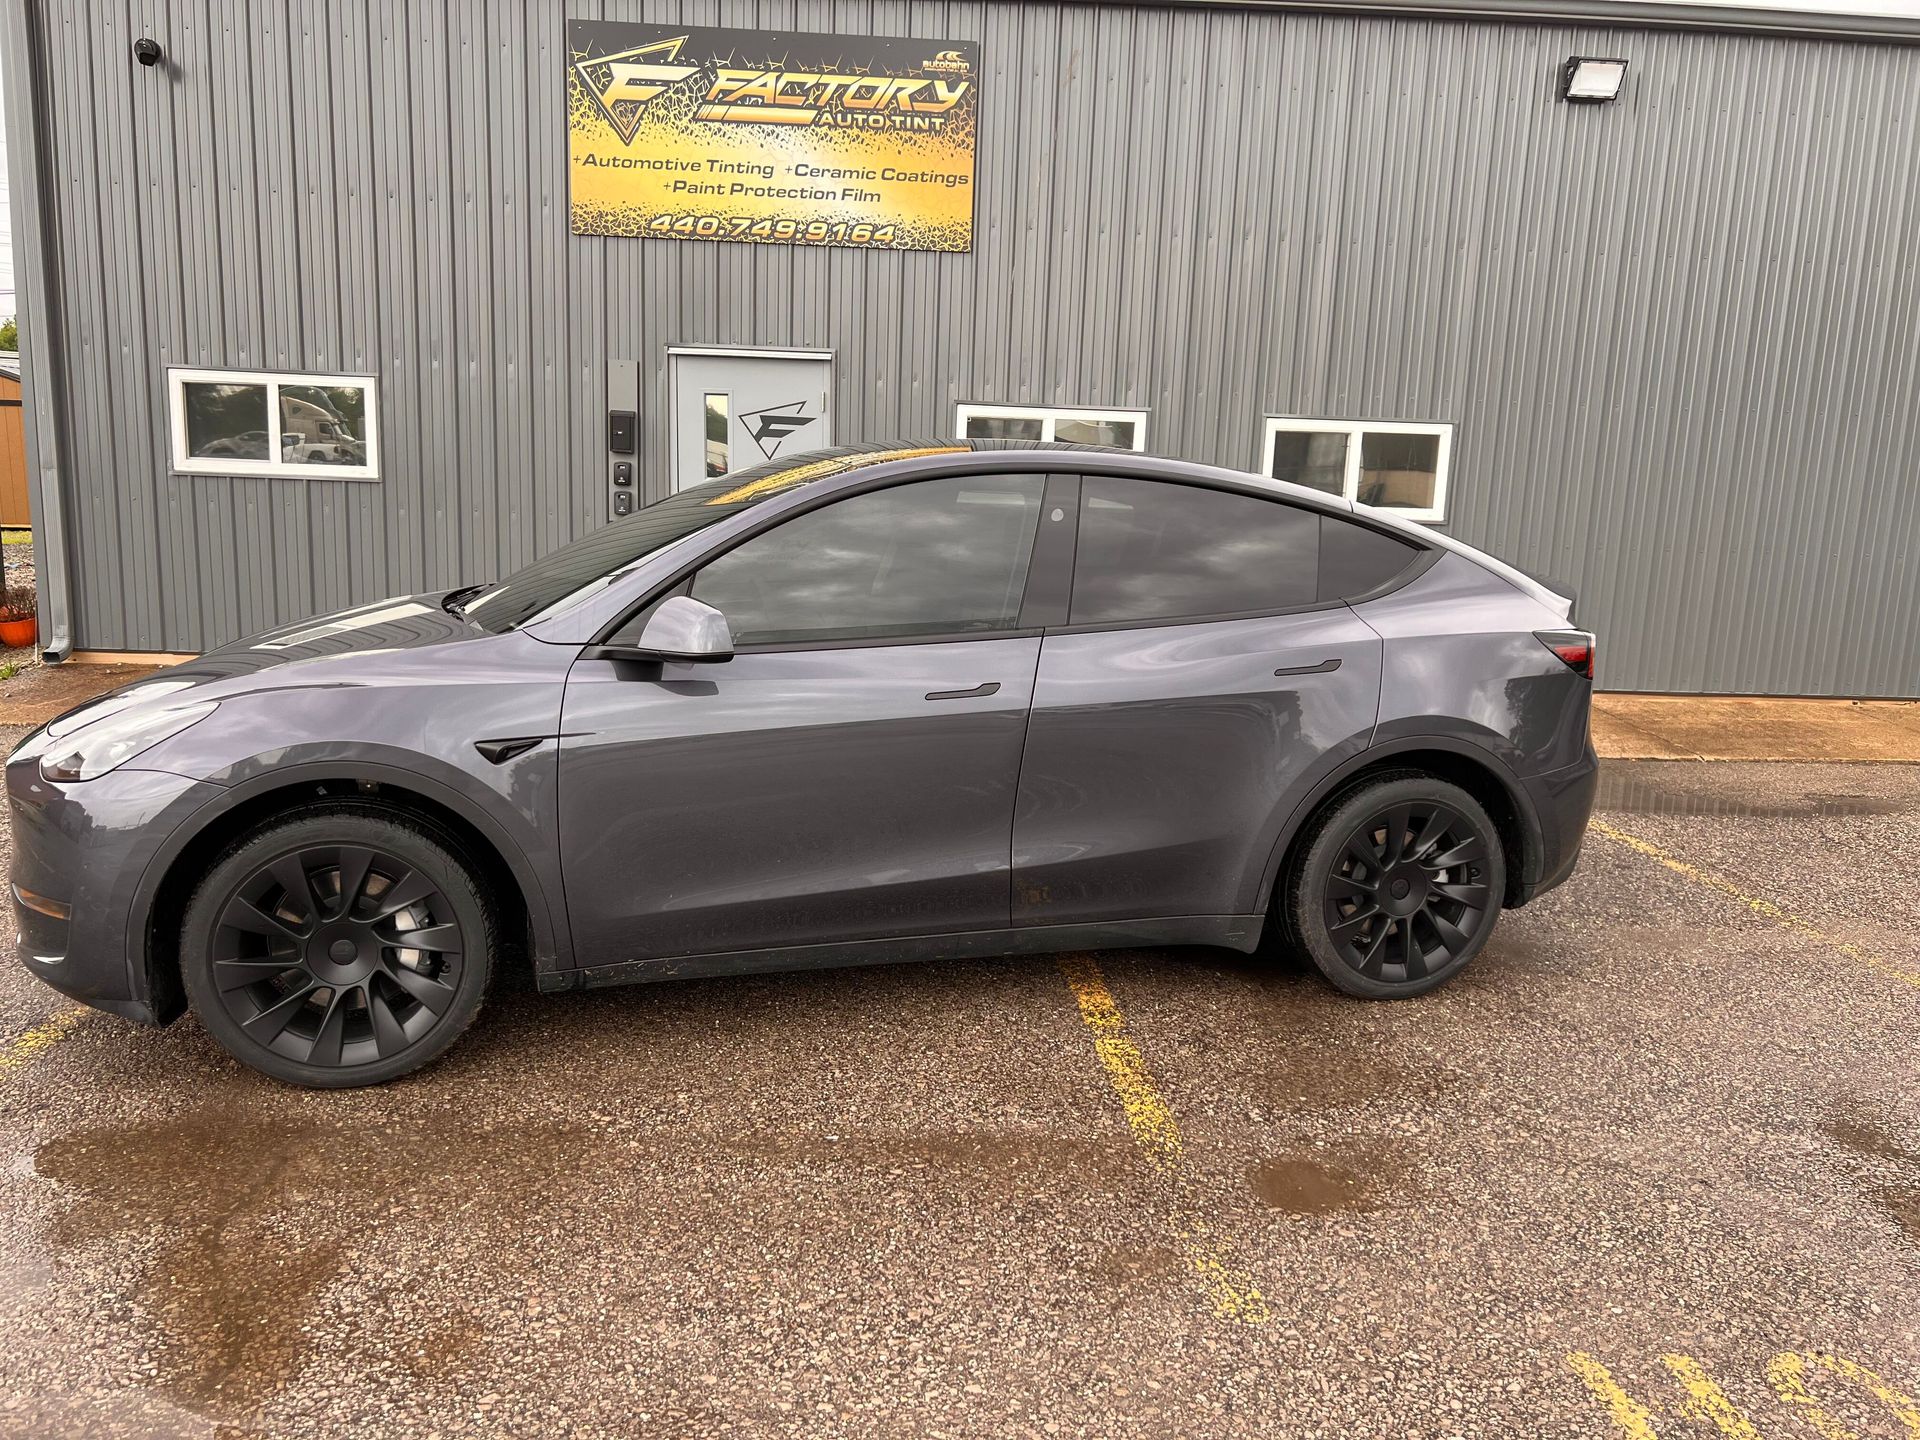
Removing Tint the Right Way: Trust the Experts at Factory Auto Tint
Yes, car window tinting can be removed—but doing it correctly is key to avoiding damage to your glass or defroster lines. Whether your tint has bubbled, faded, or simply no longer suits your style, professional removal ensures a clean finish without residue or scratches. At Factory Auto Tint, we use safe, effective techniques to remove old window film and prepare your windows for a fresh installation if desired. Our team handles everything with precision, so your vehicle leaves our shop looking its best.
Need to remove or replace your old window tint?
Call (440) 749-9164 to schedule a professional tint removal with Factory Auto Tint today!